Your Pummba at home, tips and instructions
On the way home, get ready to receive your Pummba:
Each Pummba module will arrive in a 90x90x50 cm box.
It will fit perfectly in the elevator, but keep in mind that each box weighs 40 kg (come on, quality materials weigh their own, but you will see how comfortable they are...) so if you have the help of another person, even better.

Already at home? Check that you have everything:
Inside the box there are:
- 1 pouf
- 1 back cushion (vacuum packed)
- 1 backrest
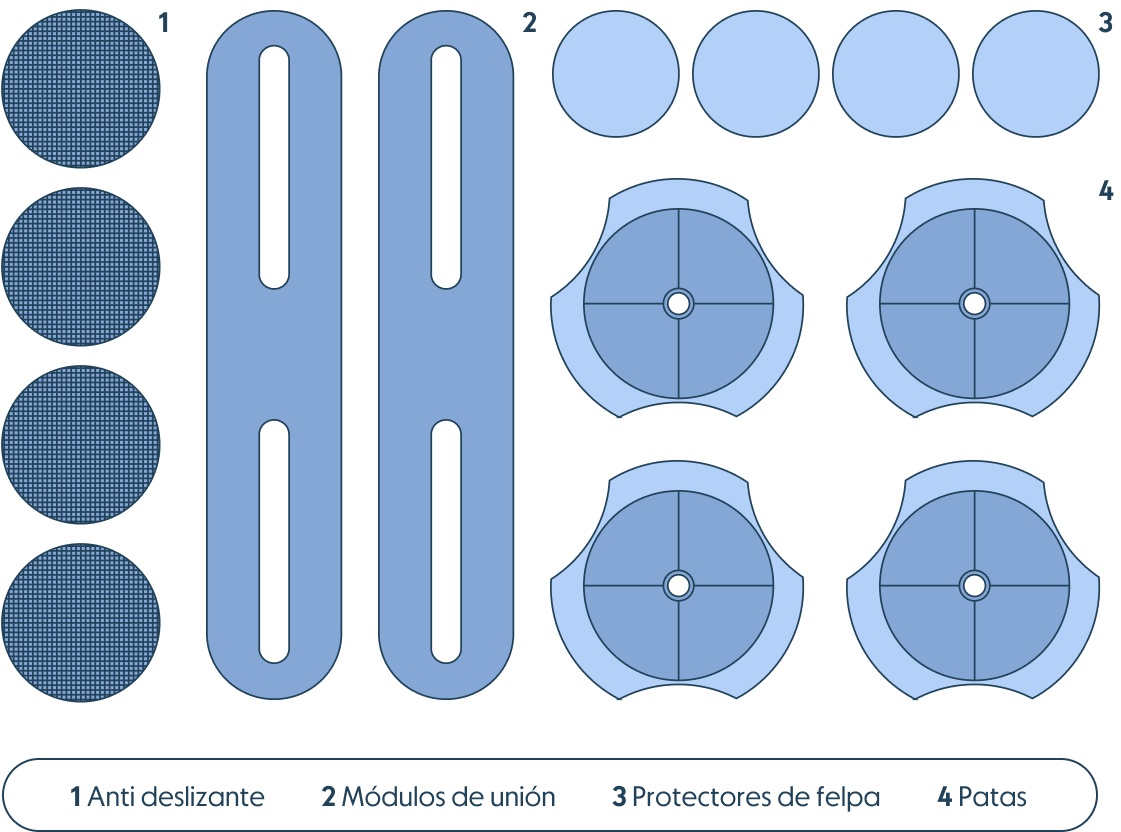
- 4 legs
- 4 plush felts (in case you want to move your Pummba around the house)
- 4 non-slip pads (in case you DON'T want to move your Pummba around the house)
- 2 joining modules
- 4 screws (If the screws are not in this box, look for them in another of the boxes that you received, they will all be together).
*If you have ordered arms, the box will also contain this arm and 4 extra screws (8 in total).

Assembling your Pummba is very simple...
The step by step, so you don't miss anything:
- Unzip the cover and remove the cushion, legs, module joints, plush protectors, non-slip pads, and screws.
- Curl the legs. (If you want to join the modules with the joining piece to fix them very tightly, this step is not necessary yet).
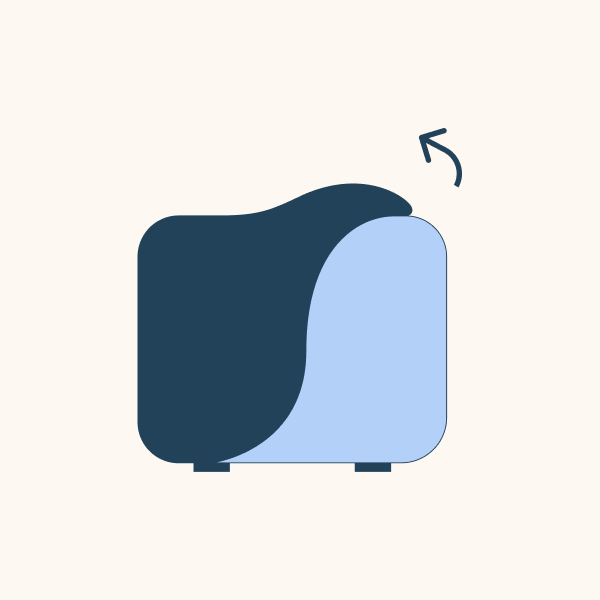
- Turn the box over.
- The bean bag must have the handles on the sides and the Pummba label on the back, where the backrest is placed. The front part is smooth.
- Place the module vertically on the side of the label. Place the backrest on top, so that it coincides with the two holes in the module.
- Screw in the end screw first and then the one on the inside. You can do it with your hands without the need for any tools. If you have trouble, press the backrest against the module to help you.
- If you have purchased arms, screw them on in the same way.
- If you want to give extra support between the modules, place the module union as follows:
- Place the modules vertically next to each other.
- Place the module union and adjust the screw on one leg of one module to the other screw on the other leg of the other module.
- Check that it is aligned.

- Turn the modules over.
- Place the back cushions, take a run and go bang!
Do you want to return your Pummba? We give you some tips to dismantle it:
Remove the back support, back cushion and legs from each module.
Store the vacuum-packed back cushion (you can use the bag it arrived in), legs, screws, module joints, non-slip pads and plush felt inside the module (where you took it from when you assembled your Pummba) and close the zipper.
You can check the parts list at the top of this page to make sure you include all the parts in the box.
Store the module inside the box and place the backrest support on top (and if you have requested an armrest, too) carefully to protect all the parts.
Close the box and put tape to seal it well.
From here we take care ;)
Are you going to take out your Pummba?
We help you put the cover back on so that it looks like the first day.
Step 1: Put on the base cover
Position the cover so that the seam matches the Pummba label, you will see that it is just above the seam of the bean bag itself.
Start with one corner and place the rest of the cover.
Turn the bean bag over and stick the velcro to the lining at the bottom of the bean bag, keep in mind that the holes in the cover have to match those of the bean bag.
Step 2: Place the backrest cover
The backrest cover has 2 cuts that will be aligned with the L-shaped plates of the backrest, in the front part. The cover is placed in the two upper corners and lowered on both sides. Once placed, close the velcro and the two zippers at the bottom.
Step 3: Now you can assemble your Pummba ready!
Place the arms with the 4 screws, just as you did during assembly. If you do not have arms, you can place 2 screws in the holes to hold the cover. This way you can stretch the handles to move it comfortably without the cover moving.

 How to assemble your Pummba
 care
care Payment Methods
 Frequent questions